Guides · Restored
A Step-by-step Process of Diamond Painting Made Easy
Eight steps from unboxing to sealing the finished canvas, in the order that avoids the usual beginner mistakes.
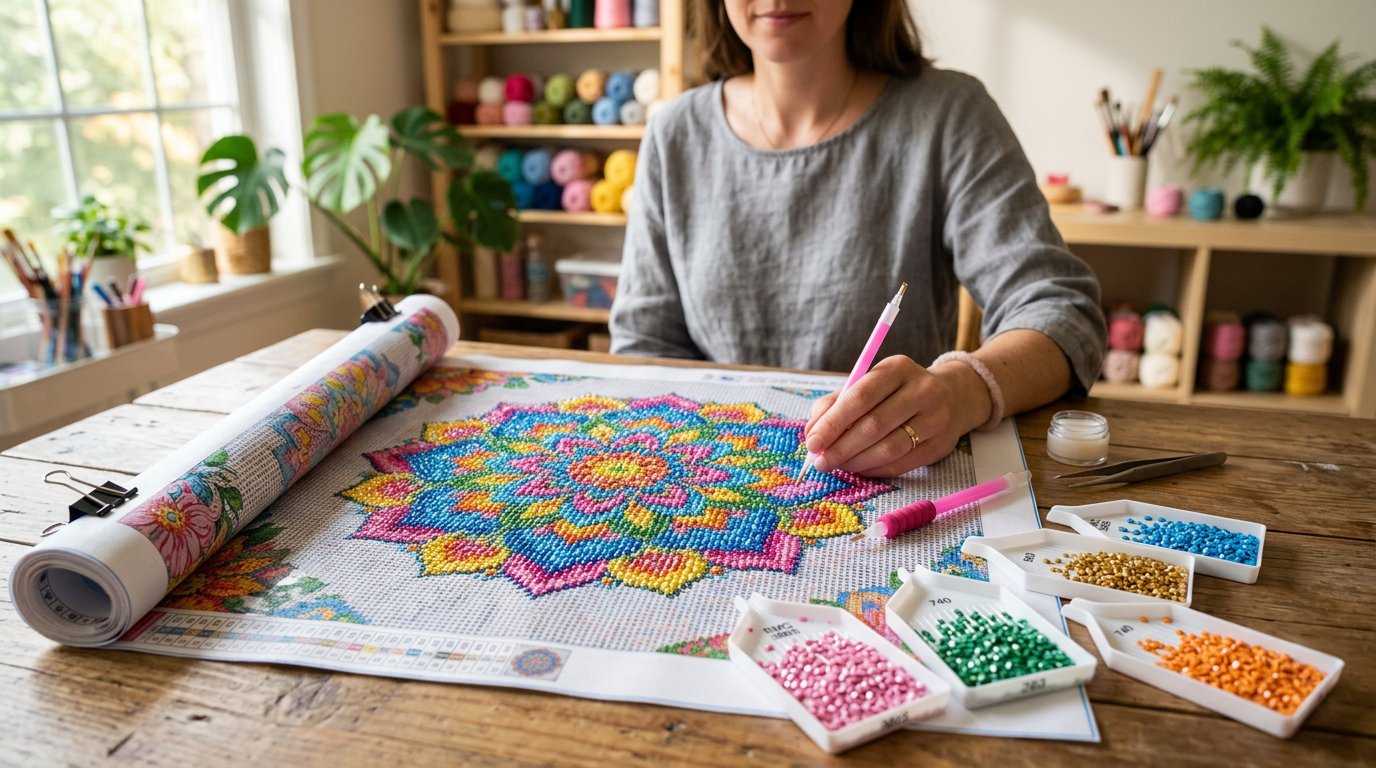
Diamond painting is not difficult. It is repetitive, which is the point, and almost every problem beginners hit comes from one of three places: a canvas that will not lie flat, drills that fall off because the cover sheet was left off, or picking a design that is far too detailed for a first project. Work through the eight steps below in order and the first kit will finish the way it looked on the website.
Step 1: Pick a kit that suits a first attempt
A first canvas should be partial drill or a low-colour full drill design, roughly 30 x 40 cm. Large full-drill canvases with 40+ colours are the single most common reason people abandon a kit half-finished. If you are buying for a child, a smaller canvas with round drills and fewer colours is far more likely to be completed. Our beginner's guide explains what is actually in the box and how the two drill shapes differ.
Step 2: Flatten the canvas before you touch it
Canvases ship rolled. Unroll it, lay it print side up, and leave it under two heavy books for half an hour - or roll it the other way for a minute and let it relax. Never iron it and never heat it. Placing drills on a canvas that is curling at the edges means the drills sit proud of the glue and lift later.
Step 3: Set up so your neck survives the session
A flat surface at elbow height, decent light from above, and a chair that does not make you hunch. Work in 40 minute blocks. The craft is relaxing; the posture people use for it is not. If you plan to work on a lap tray in front of the television, put a lamp next to you - most miscounted sections are a lighting problem, not a concentration problem.
Step 4: Sort and label the drills
Open every bag, check the printed code against the legend, and put each colour in its own labelled container before you start placing anything. Doing this up front takes twenty minutes and saves the rest of the project. It also tells you immediately if a colour is short, so you can email the seller while the order is still recent.
Step 5: Read the chart before the first drill
The legend down the side of the canvas maps each symbol to a DMC code. Check three or four symbols against the bags before you place anything - mislabelled legends happen, and the time to find out is before the wrong colour is stuck down. Our guide to reading a chart, symbols and DMC codes covers the symbols that look alike and what "full drill" really means.
Step 6: Peel a small section, then place
Never peel the whole cover sheet. Lift one corner and fold it back, work that section, then fold it back over. The adhesive dries out once exposed, and a canvas left open overnight is the reason drills fall off a year later. Pour a few hundred drills into the tray, shake gently so they settle face up, and pick up with the pen - waxed lightly, not loaded.
Step 7: Work in a way that keeps you sane
Colour by colour is the tidiest. Section by section - a 5 x 5 cm block at a time - is the most satisfying. For big single-colour areas, a multi-placer laid straight along a row cuts hours off the job, provided you keep the rows aligned. Whatever you choose, finish the section you are in before you move; half-filled areas are where miscounts come from.
Step 8: Seal it, then frame it
When the last drill is down, cover the canvas, roll over it firmly with a roller or a jar to press every drill into the glue, and leave it flat overnight. Add a thin coat of a proper diamond painting sealant if the piece will hang in daylight or be handled. Then frame it - and do not skip the rolling step, because it is the difference between a canvas that survives framing and one that sheds drills on the floor.
The three mistakes worth avoiding
- Peeling the whole sheet at once. It feels efficient and it ruins the adhesive.
- Buying a 60 x 80 cm canvas first. Start smaller than you think you should.
- Assuming the kit has spare drills. Ask before you order, especially on wholesale quantities where a short bag is 40 wasted kits.
Once a kit is finished, most people have a bag of drills left over. There are a dozen things to do with them - see our guide to leftover drills - and if you are deciding what to buy next, the round versus square comparison is worth ten minutes before you order.
Keep reading
- The complete beginner's guide
- Reading a chart, symbols and DMC codes
- Round vs square drills
- Things to do with leftover drills
About this page
Originally published 24 February 2022. Restored from the site archive in November 2026 - the archived copy held only placeholder text, so the body was rewritten to the same title and brief and kept at its original URL.